lms_user_id) in Google Workspace that can be used with LMS integrations. These attributes allow you to map user identities between your platform and the LMS provider.
Access Google Admin Console
1
Log in to Google Admin
Log in to your Google Admin Console at https://admin.google.com/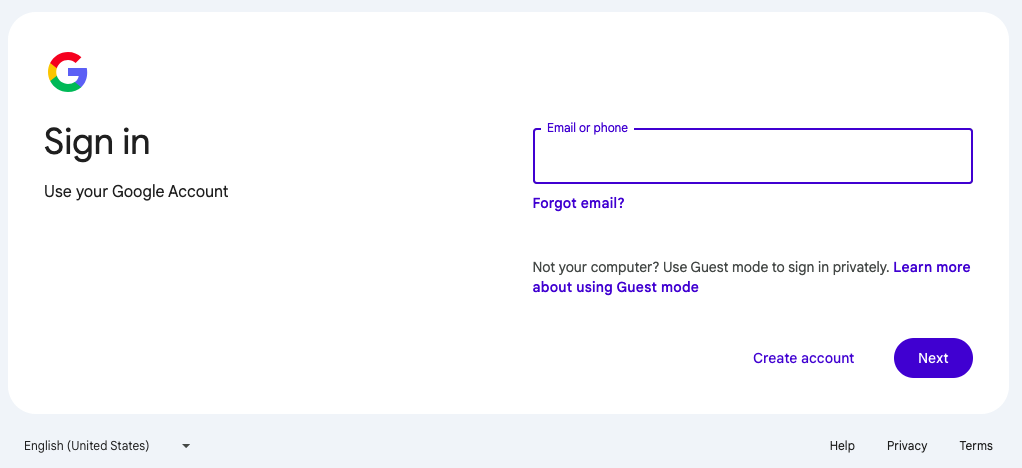
2
Navigate to Apps
In the left navigation menu, click on Apps > SAML apps.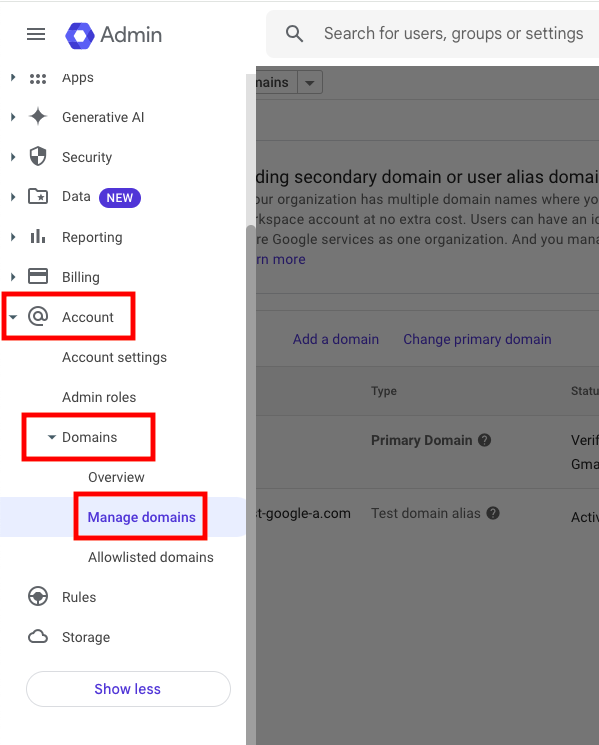
3
Select Your Application
Find and click on the SAML application that will be used for SSO with your LMS integration.If you haven’t created a SAML app yet, click the + (plus) button to Add a service/App and choose Add custom SAML app.
Configure Custom User Attributes
1
Navigate to User Attributes
Before configuring the SAML app, you need to set up custom user attributes.Go to Directory > Users and click on any user to see the profile structure.
2
Add Custom Attributes (If Needed)
If you need custom attributes beyond the standard Google Workspace fields:
- Go to Directory > Directory settings > Custom attributes
- Click Add custom attribute
- Configure:
- Category: Create or select a category (e.g., “LMS Integration”)
- Name:
lms_user_idor your desired attribute name - Info type: Text (single value)
- Visibility: Visible to admin and user
- No. of values: Single value (most common)
Google Workspace provides standard user profile fields that are often sufficient:
- Primary email address
- Employee ID
- Employee type
- Department
- Manager email
- Custom schemas for additional fields
3
Populate User Data
Ensure that the attribute you plan to use (custom or standard) is populated for your users:
- Via Admin Console: Directory > Users > Select user > Edit profile
- Via Google Admin SDK API
- Via CSV import/export
- Via Google Cloud Directory Sync (GCDS) for on-premises integration
Configure SAML Application Attributes
1
Edit SAML App Configuration
In your SAML app settings, click Edit Service or go to the app configuration.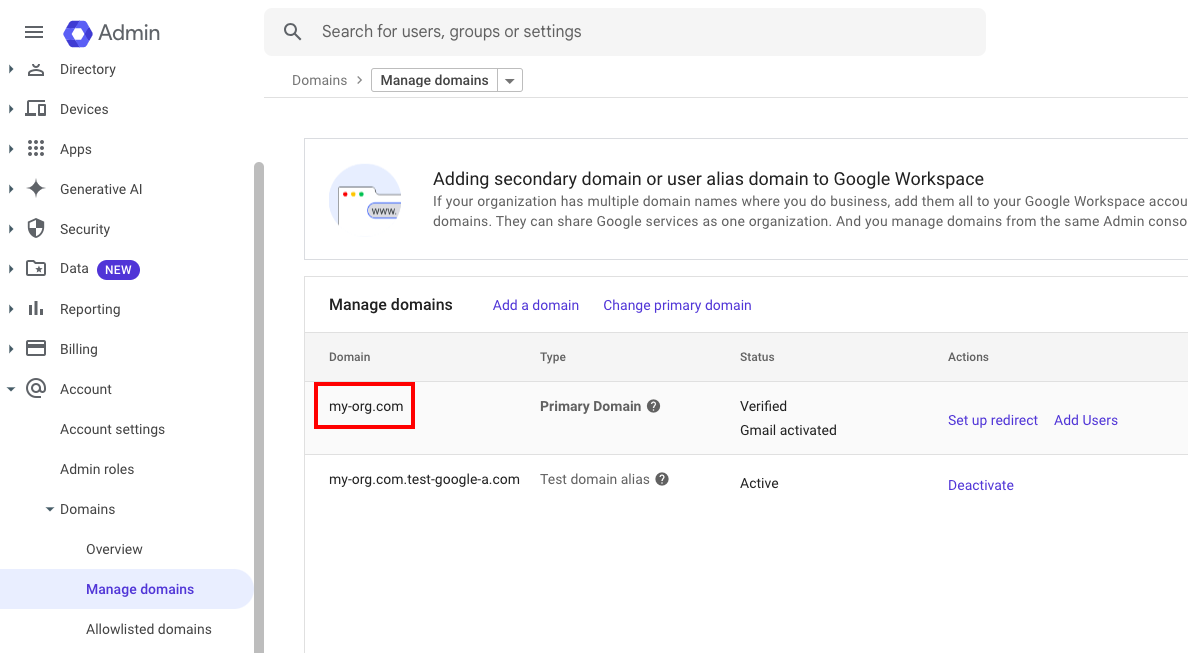
2
Configure Service Provider Details
Ensure your LMS service provider details are correctly configured:
- ACS URL: Your LMS Assertion Consumer Service URL
- Entity ID: Your LMS entity identifier
- Start URL: Your LMS SSO initiation URL (optional)
3
Add Attribute Mapping
In the Attribute mapping section, click Add mapping and configure:For Primary User Identifier:
- Google Directory attribute: Choose from:
- Primary email
- Employee ID
- Custom attribute you created
- App attribute:
lms_user_id(or the name expected by your LMS) - Attribute format: Basic information (most common) or URI reference
- First name: Basic information > First name →
first_name - Last name: Basic information > Last name →
last_name - Email: Basic information > Primary email →
email - Department: Basic information > Department →
department - Job title: Basic information > Job title →
job_title - Employee ID: Basic information > Employee ID →
employee_id
4
Configure Name ID Format
Set the Name ID format and Name ID based on your LMS requirements:
- Name ID format: Usually “EMAIL” or “UNSPECIFIED”
- Name ID: Map to the primary identifier (often Primary email)
5
Save Configuration
Click Save to apply your SAML attribute configuration.
Advanced Custom Schema Configuration
For complex LMS integrations requiring multiple custom fields:1
Create Custom Schema
Go to Directory > Directory settings > Manage custom attributes.Click Add custom attribute and select Add custom schema.
2
Define Schema Structure
Create a schema specifically for LMS integration:
- Schema name: “LMS_Integration”
- Add multiple fields as needed:
lms_user_id(Text, single value)lms_role(Text, single value)lms_groups(Text, multi-value for multiple group memberships)training_manager(Email, single value)
3
Populate Schema Data
Use the Admin SDK API or CSV import to populate these custom schema fields for your users:
4
Map Custom Schema in SAML
In your SAML app attribute mapping, you can now reference:
- Google Directory attribute: Custom schema > LMS_Integration > lms_user_id
- App attribute:
lms_user_id
Test SSO Configuration
1
Enable SAML App
Ensure your SAML application status is ON for the appropriate organizational units.
2
Test with User Account
Use the Test SAML login feature in the Google Admin Console or test through your LMS SSO flow.
3
Verify SAML Response
Check the SAML response to ensure your
lms_user_id and other configured attributes are being transmitted with the expected values.You can use browser developer tools or SAML debugging tools to inspect the response.Configure Group-Based Access (Optional)
1
Create LMS Access Group
Go to Directory > Groups and create a group for LMS access (e.g., “LMS Users”).
2
Add Users to Group
Add the appropriate users to this group who should have LMS access.
3
Restrict SAML App Access
In your SAML app settings, under Service status, you can restrict access to specific organizational units or groups.
4
Map Group Membership (Optional)
If your LMS supports group-based role assignment, you can add attribute mappings for group membership:
- Google Directory attribute: Group membership
- App attribute:
groupsorroles
Linking with Your LMS Integration
Now that you have configured the custom SSO attributes in Google Workspace, you can reference these in your LMS integration setup:1
Access LMS Integration
Navigate to the integration configuration page for your specific LMS platform.
2
Configure SSO Mapping
In the SSO or user mapping section of your LMS integration, specify:
- SSO Attribute Name:
lms_user_id(or the attribute name you configured in Google) - LMS Field: The corresponding field in your LMS (varies by platform)
3
Test Integration
Perform a test sync or SSO login to verify that users are being correctly identified and mapped between systems.
Congratulations, you’re all set! If you face any issues with the steps mentioned above, please contact us by emailing integrations@stackone.com. We’re always here to assist you!
LMS-Specific Attribute Requirements
Different LMS platforms may require specific attribute configurations:Common LMS Attribute Mappings
- Docebo: Use
user.user_idfor the user identifier - SAP SuccessFactors: Typically uses
user.USERIDor email-based identifier - Workday Learning: Often requires
user.employee_id - 360Learning: Usually accepts
user.mail.
Troubleshooting
- Ensure attribute names match exactly between Google Workspace and your LMS configuration
- Verify that all required attributes are mapped and have values for your users
- Check that users are in the correct organizational unit with access to the SAML app
- Use Google Admin Console’s audit logs to debug SSO issues
- Confirm that custom schema fields are properly populated for your users
- Test with multiple users to ensure consistent attribute mapping